News

By Sam Collentine, Meteorologist Posted 10 years ago December 30, 2014
PHOTO: How to Take Memorable Backcountry Photos
This article is brought to you by the Adventure Film School. We like what they do, they like what we do, it's a win-win-win-win, or something like that.
Backcountry travel can be daunting enough with a pack full of gear and food. Add camera essentials to that list and it can get dicey. Here are a few things we’d deem as necessities if you want take nice photos (or video) on your backcountry travels.
Camera
The obvious first; most of us don’t have a few grand laying around to get a DSLR camera, let alone adding a plethora of lenses to accessorize it. So any camera that you feel comfortable with that has a decent zoom range and a good resolution will do just fine. These rugged cameras are good examples.
We will say though, that with mirrorless cameras becoming more and more powerful in their sensors, if you’re going to take photography to the next level, you might want to look into a body that takes interchangeable lenses. Something perhaps like the Sony A7s or if your budget is smaller, the Sony NEX-5TL.
Extras
Another thing to keep in mind is camera protection. You may have a sweet 60L pack, but you don’t want your camera bouncing around in there all willy-nilly. For starters, you should have it in an easily accessed spot so you can grab it at any moment. There are many packs and chest carries that will do the job. We've used MindShift’s Panorama 180 and enjoy it a lot for day hikes and something more like Clik Elite’s Chest Carrier for longer treks.
Any extras should be in a tight, padded area inside your pack. Fstop makes some great items for protection. Protecting it and having it ready requires little more than one of the secondary packs/bags mentioned above. Even a fanny pack from the thrift store, some socks for padding, and a free plastic bag (waterproofing) would suffice. Camera is now carefully cushioned and in a cozy waterproof environment.
Remember to bring extra batteries (keep those in your fanny pack too) and a tripod is always recommended. We like the Jobi Gorillapod, it’s super versatile and lightweight for the backcountry.
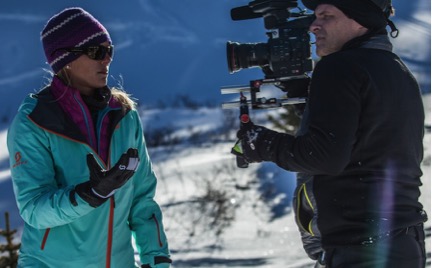
Composition
Bringing home photos that your friends and family might want to actually look at requires some thinking when you’re setting up your shot.
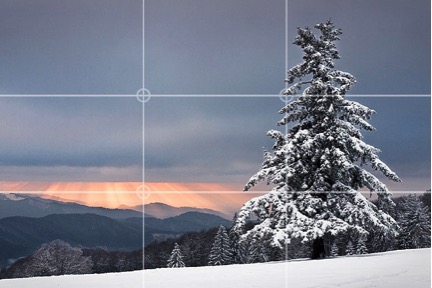
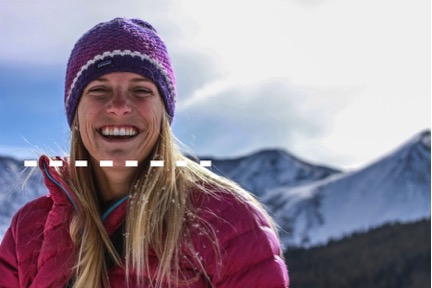
The simplest way to quickly set-up a good composition is through the Rule of Thirds. Divide your viewer (be it LCD screen or eye piece) into thirds both vertically and horizontally. Some cameras have a menu setting that shows this “thirds” grid on-screen. Now line up your subject matter where the lines intersect.
For example, if you put the horizon line on the lowest horizontal grid line and then our buddy’s face where the upper right side lines intersect you should have a decent picture.
Other quick tips; don’t cut people off at the knees, ankles or crotch, leave enough space above their heads, use the walking zoom as much as possible (move physically closer to subject), don’t “behead” someone with the horizon line or impale them with an object, and when the sun is behind your subject, use a flash if you’ve got one.
Editing
Once you get home with all your images, take some time to edit them in a style you like. You can find other outdoor photographers and model your stuff off their's and there are a plethora of tutorials out there on different ways and styles of editing. For our outdoor photos we prefer them to be very vivid, vibrant, sharp and fairly high in contrast. A lot of people like the HDR (High Dynamic Range) style for outdoor photography.
We recommend using Adobe Lightroom as your editing software. It’s a very affordable and powerful photo editing software.
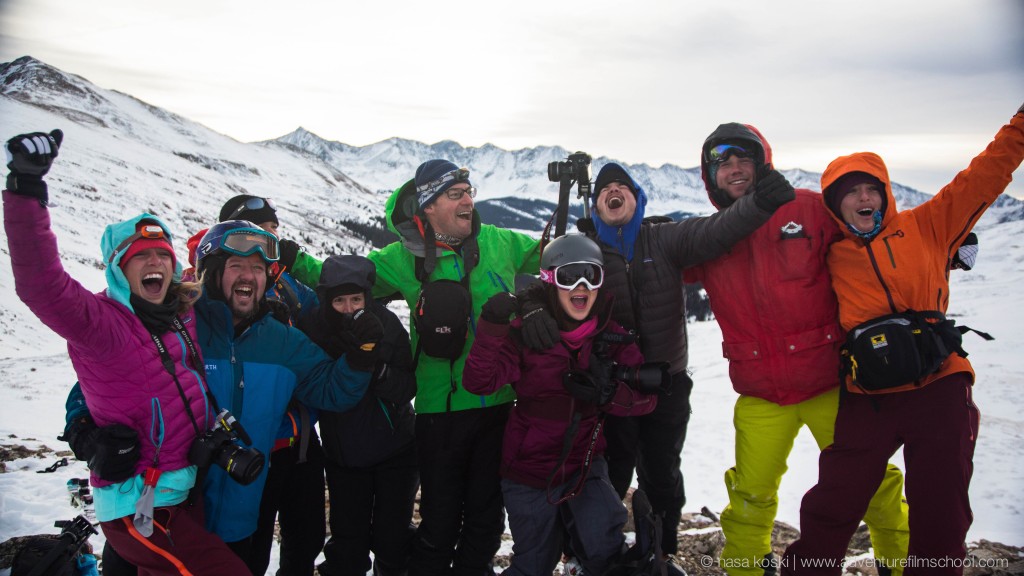
After the editing it’s time to choose your favorites and share them. The length of your trip usually determines the amount of photos to share. Remember though, most people have short attention spans!
About The Author